11:21 PM The allotment takes shape and I am patiently waiting to start beekeeping |
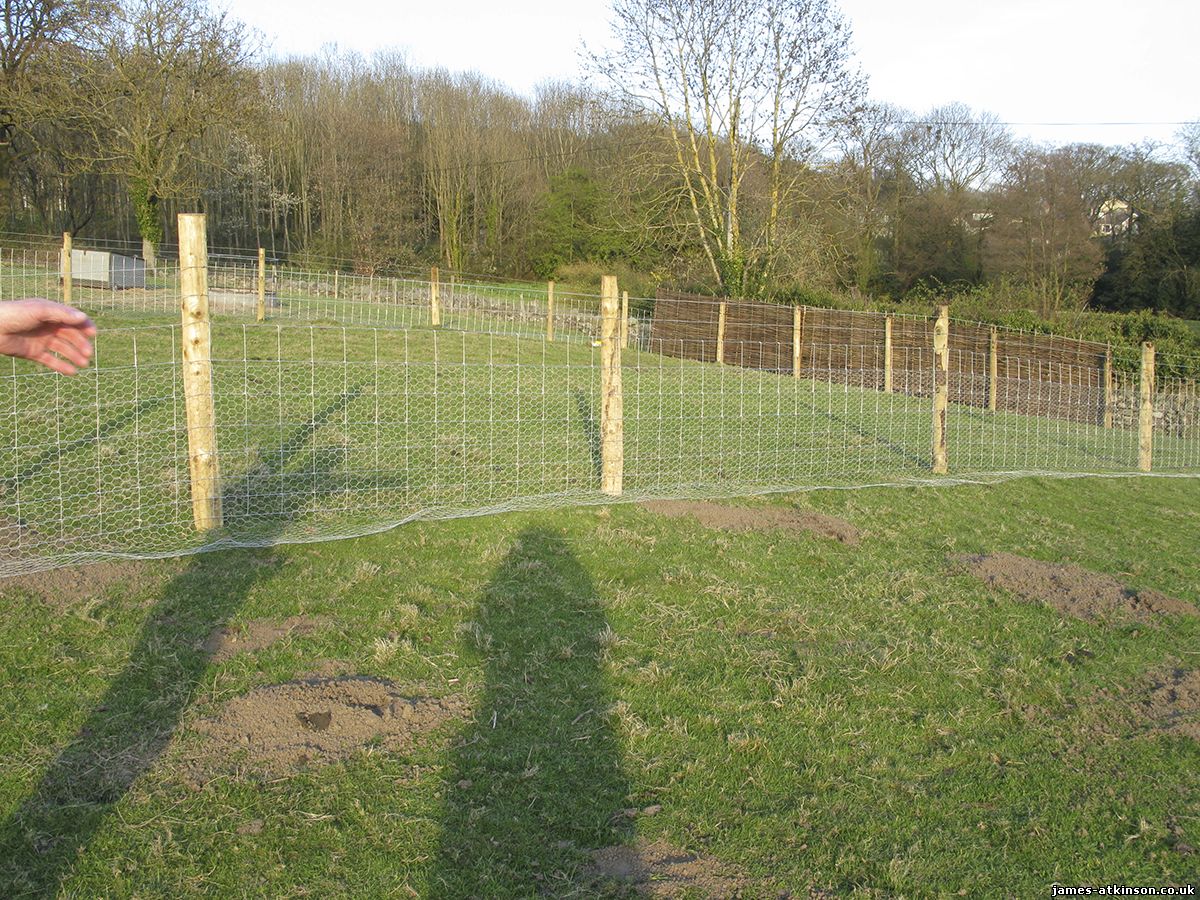
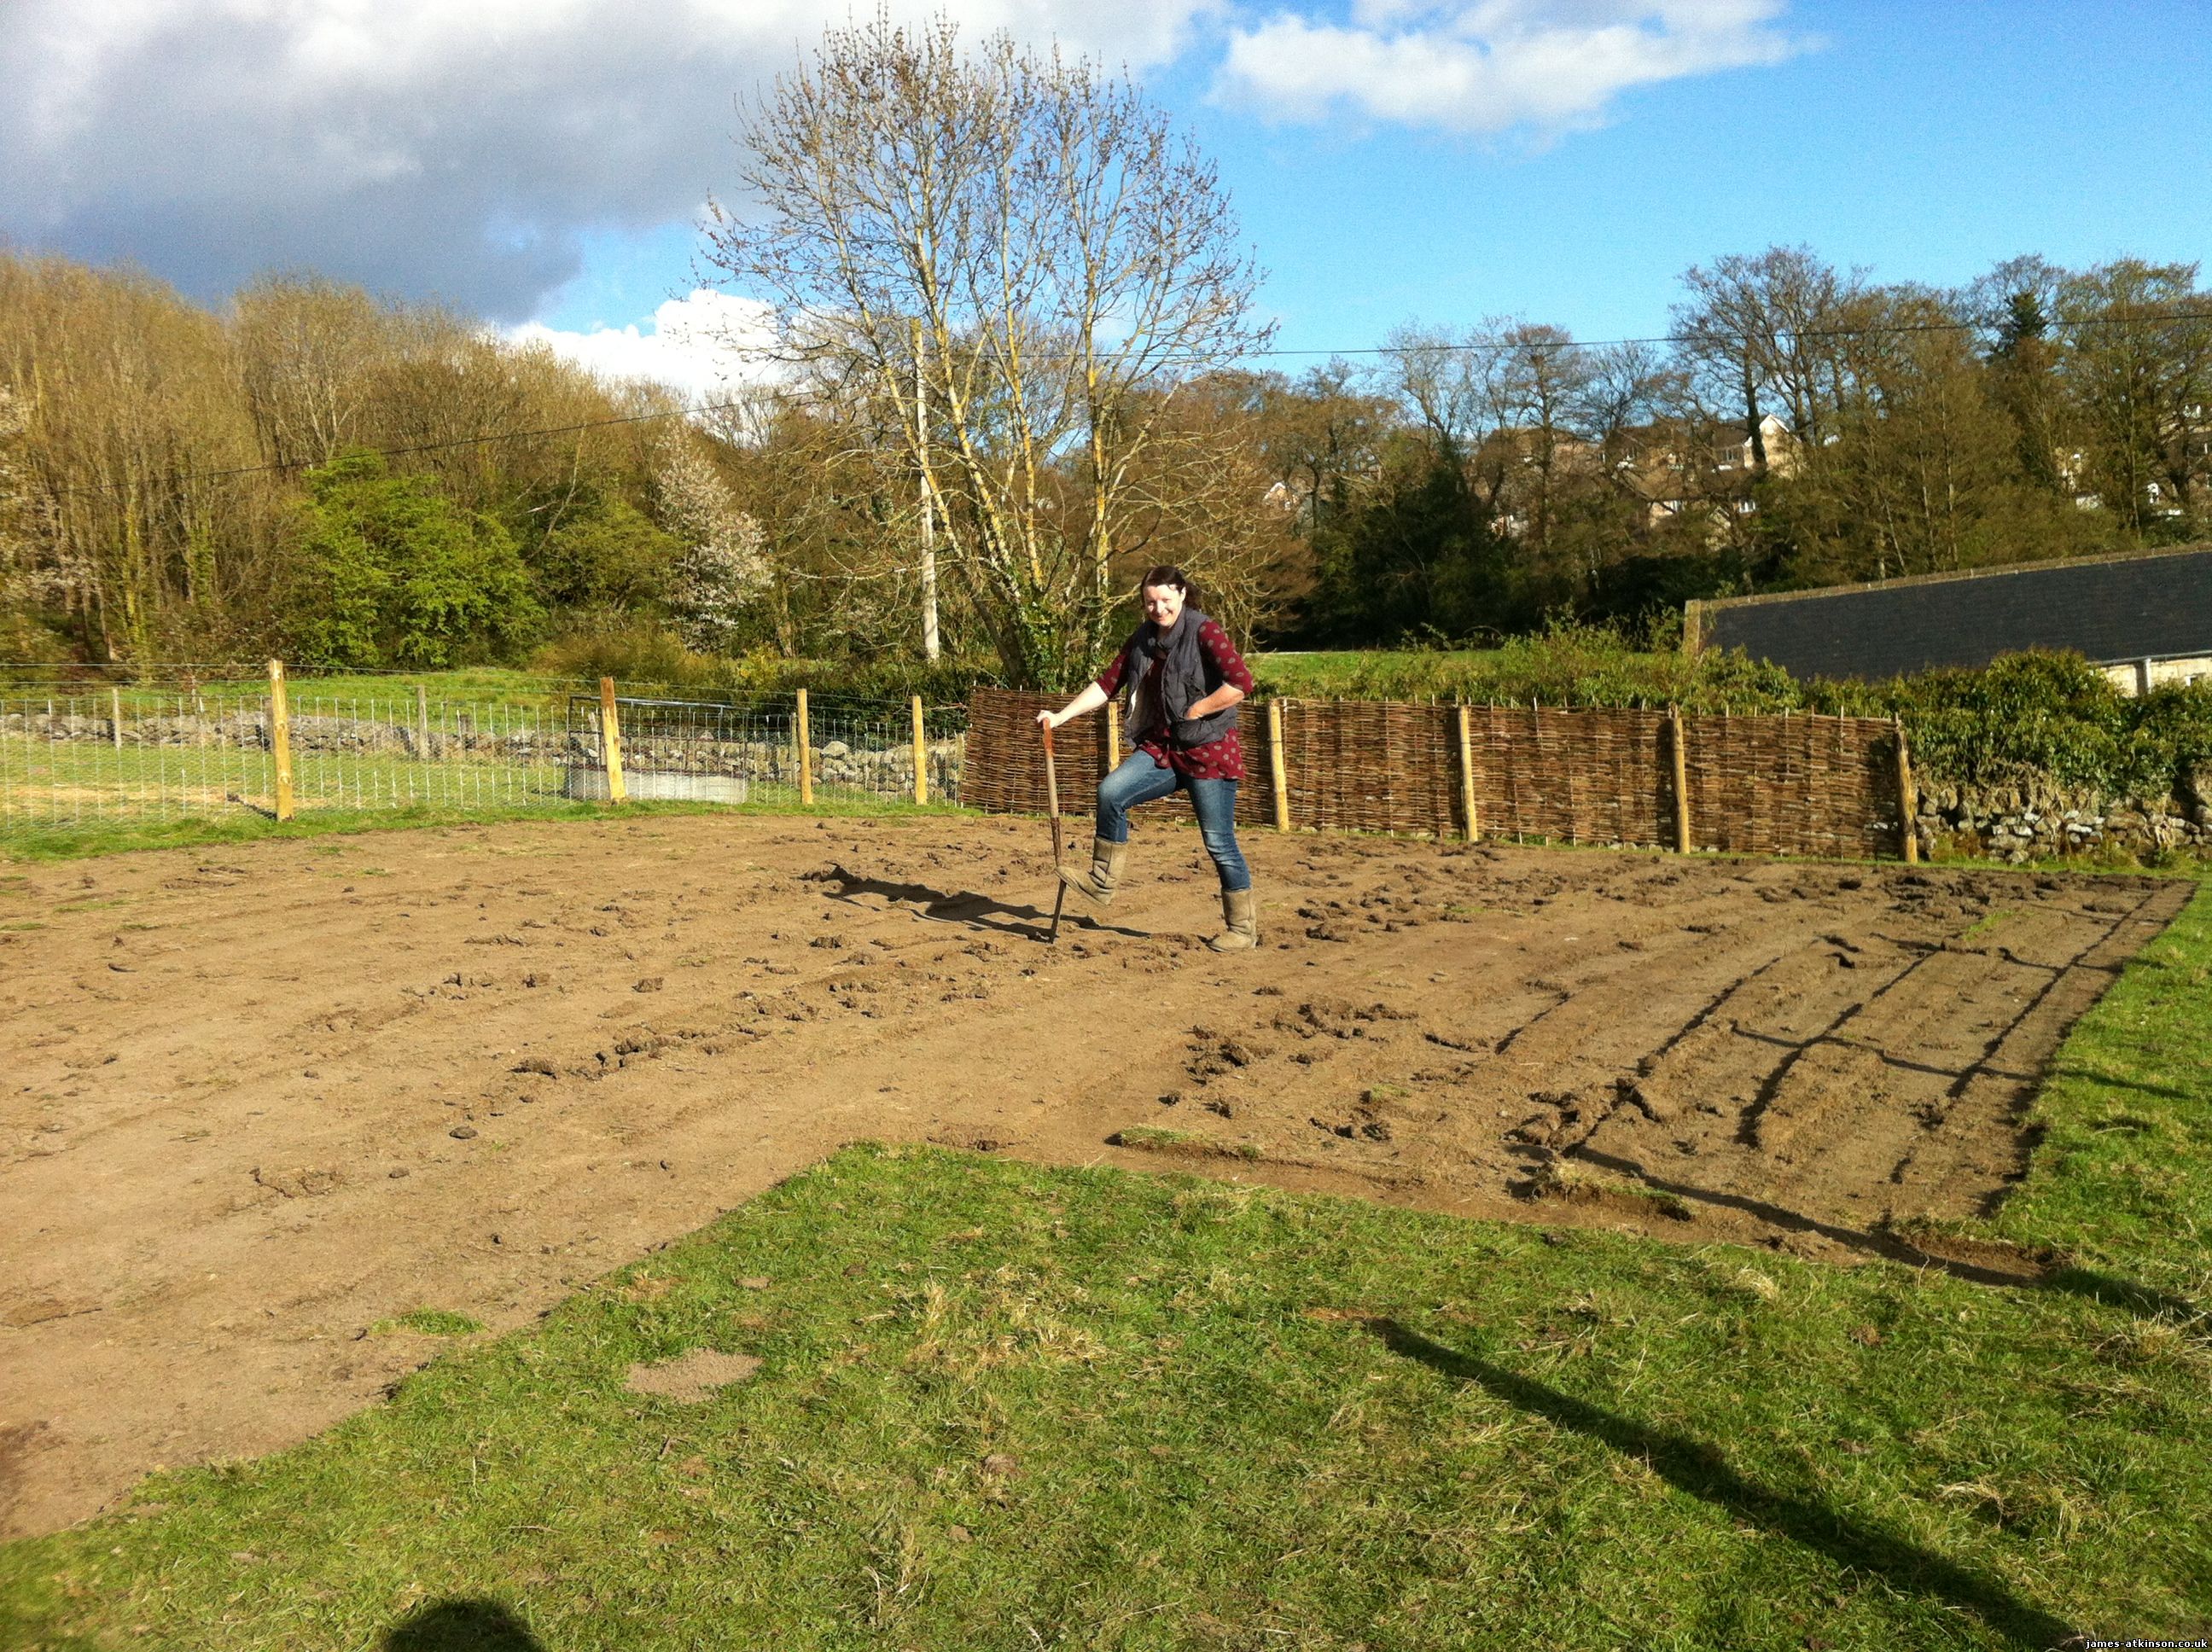
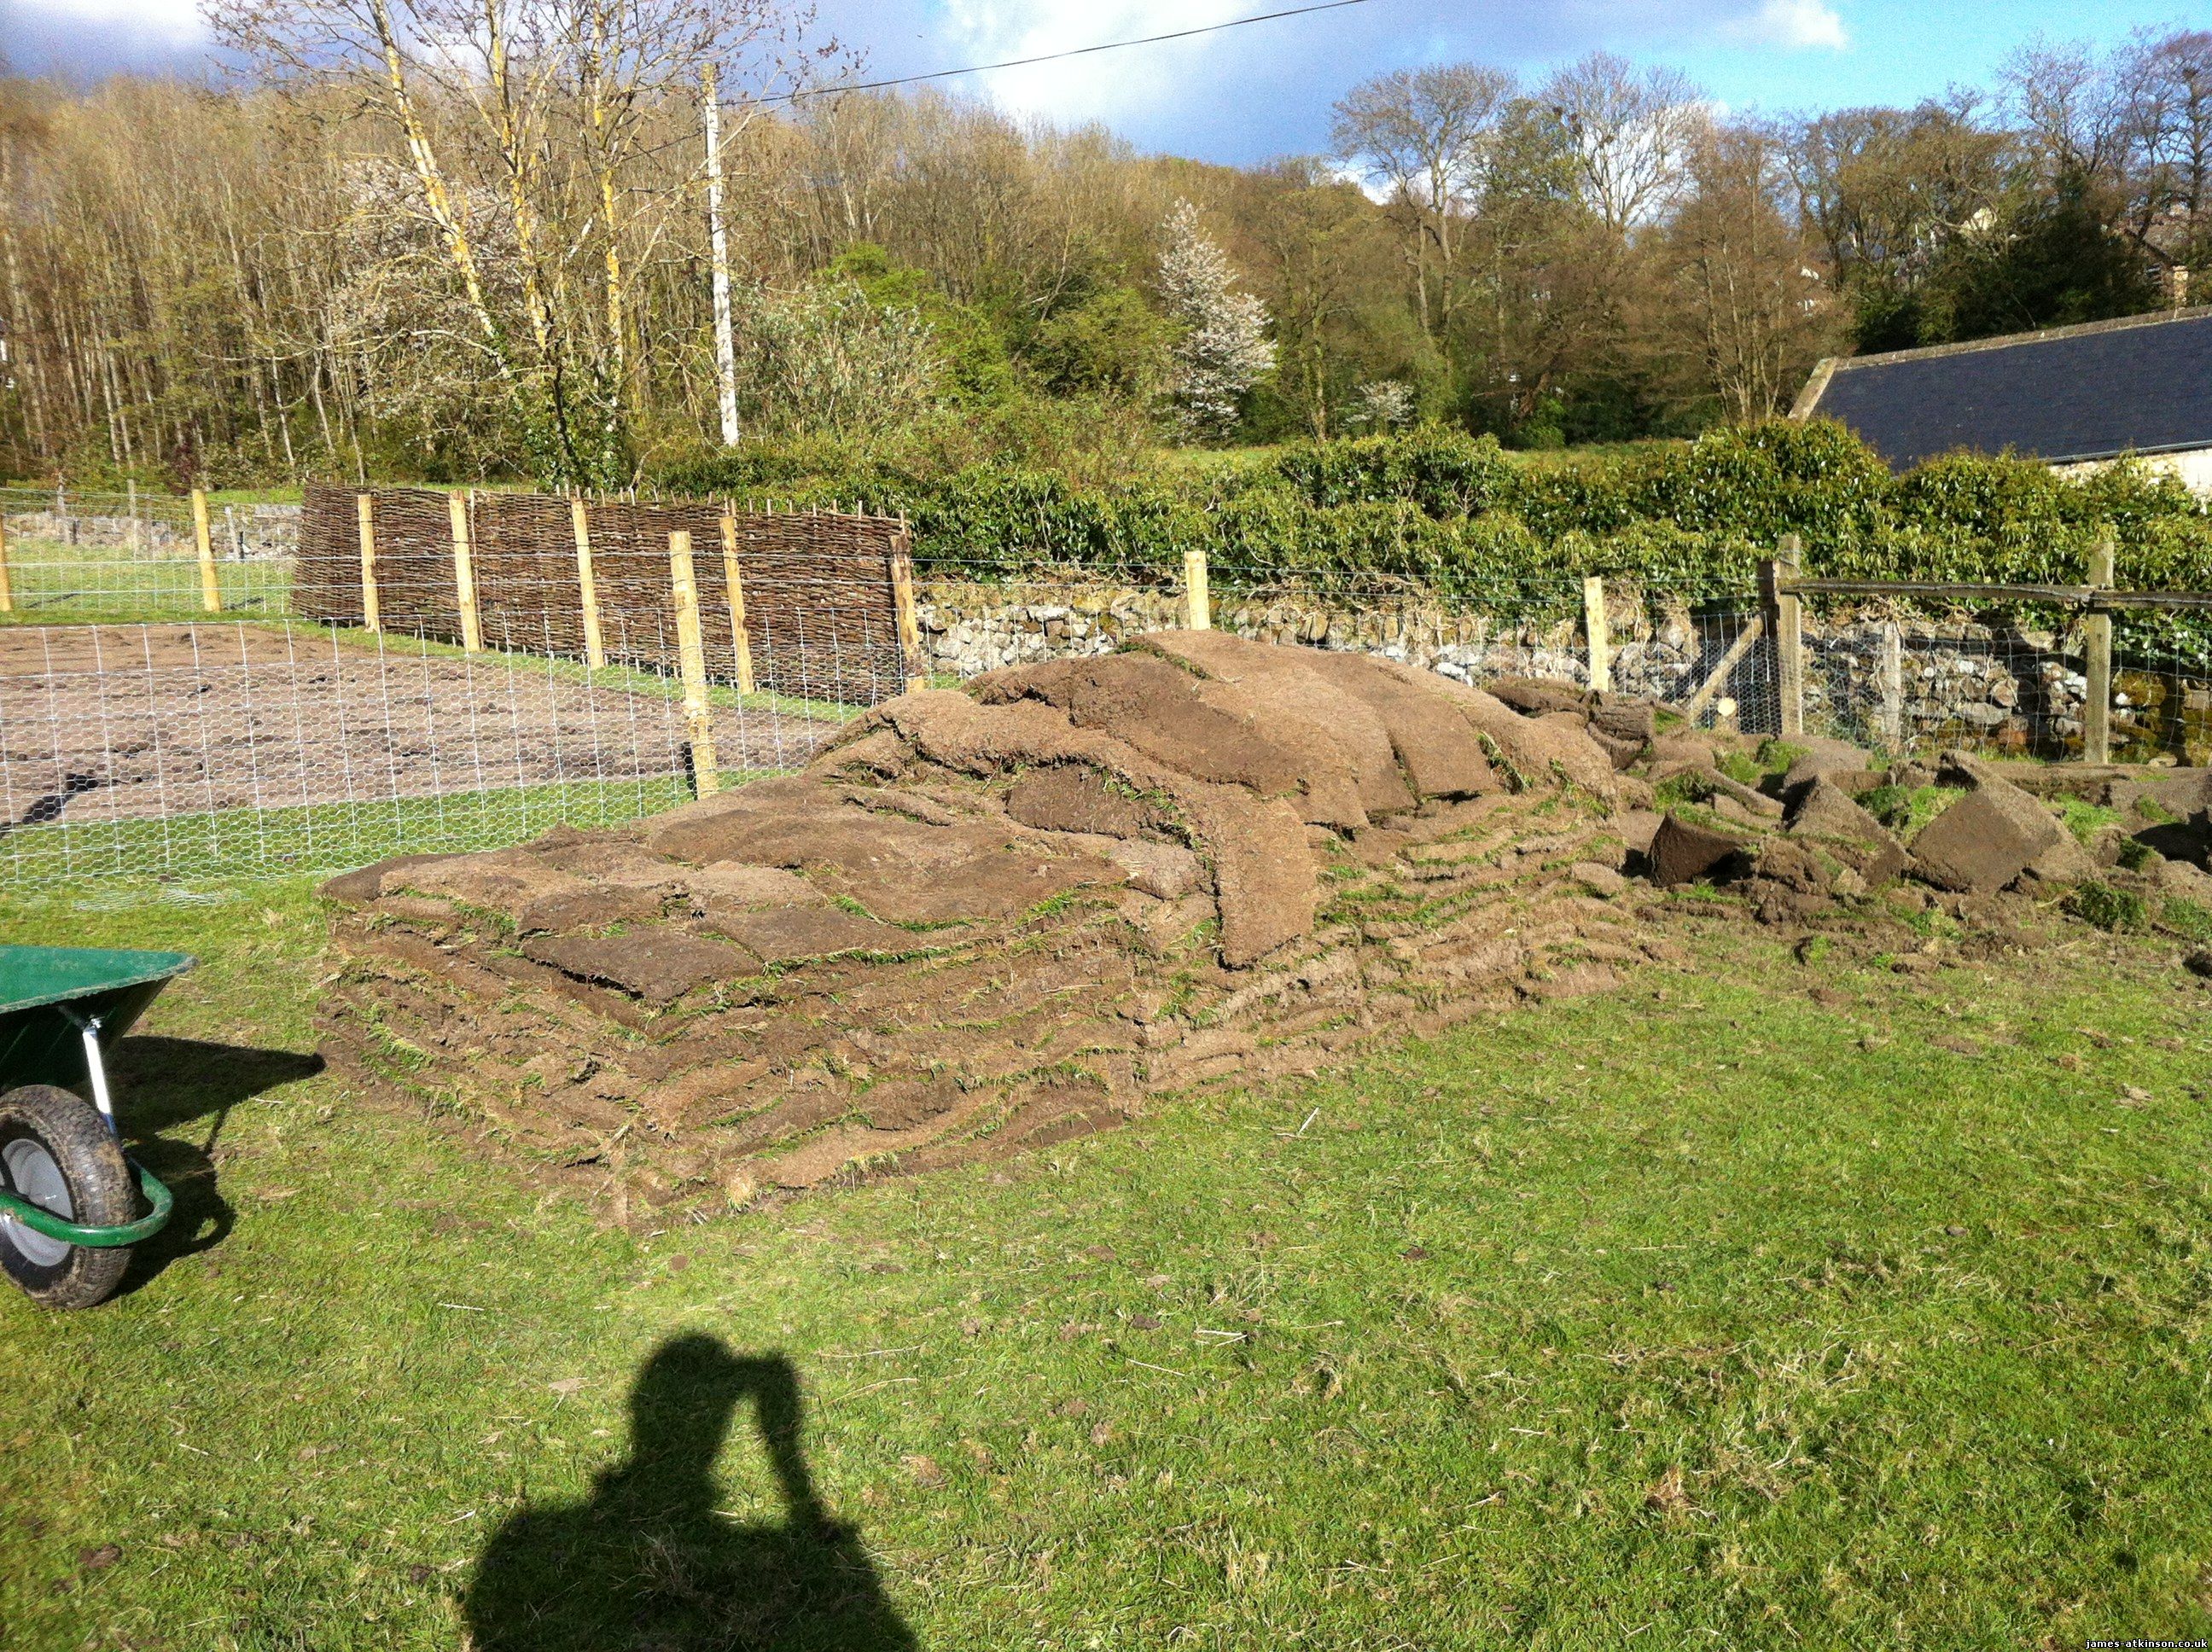
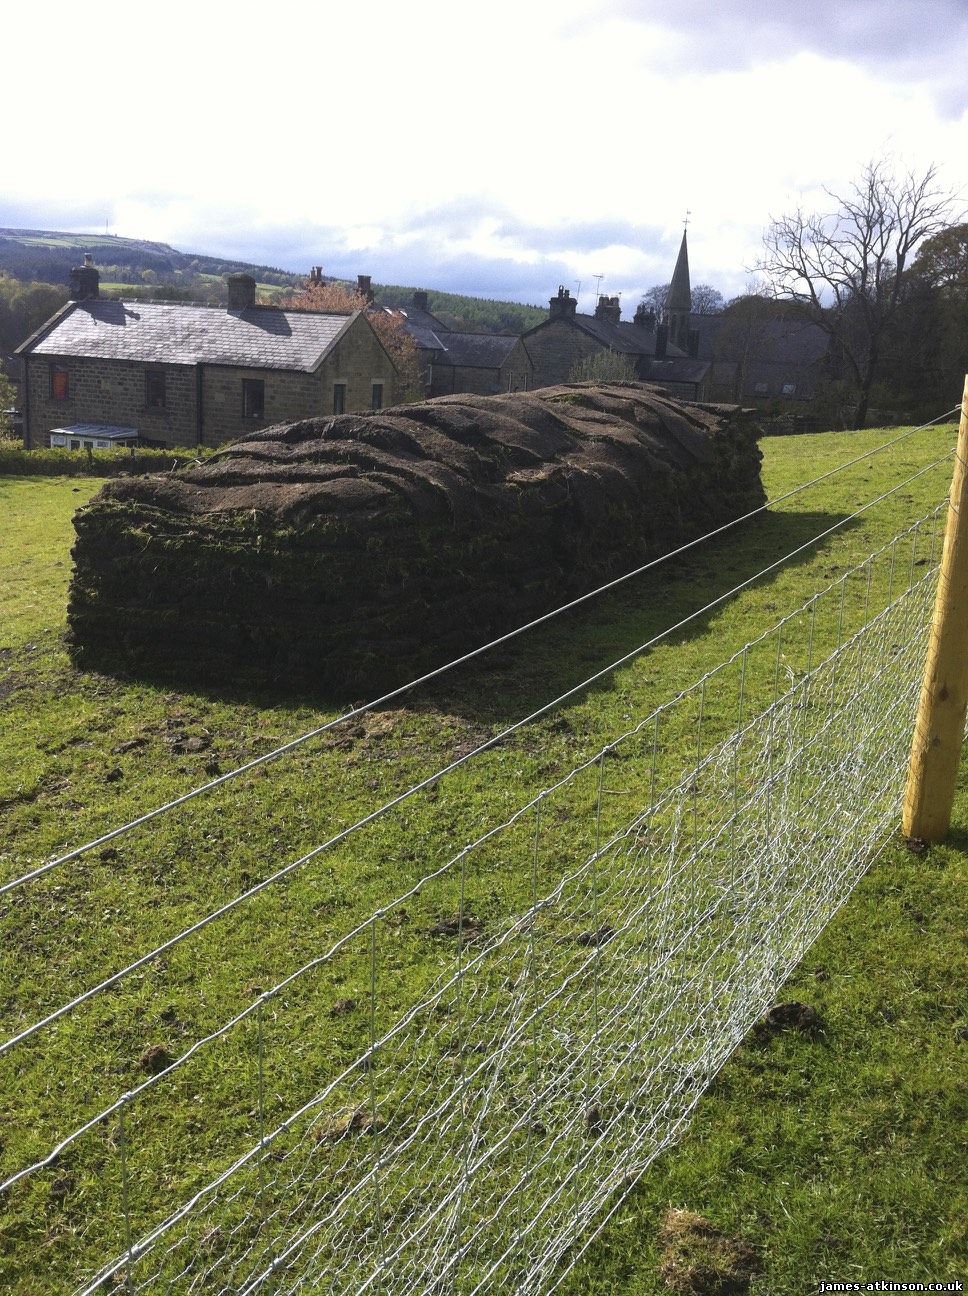
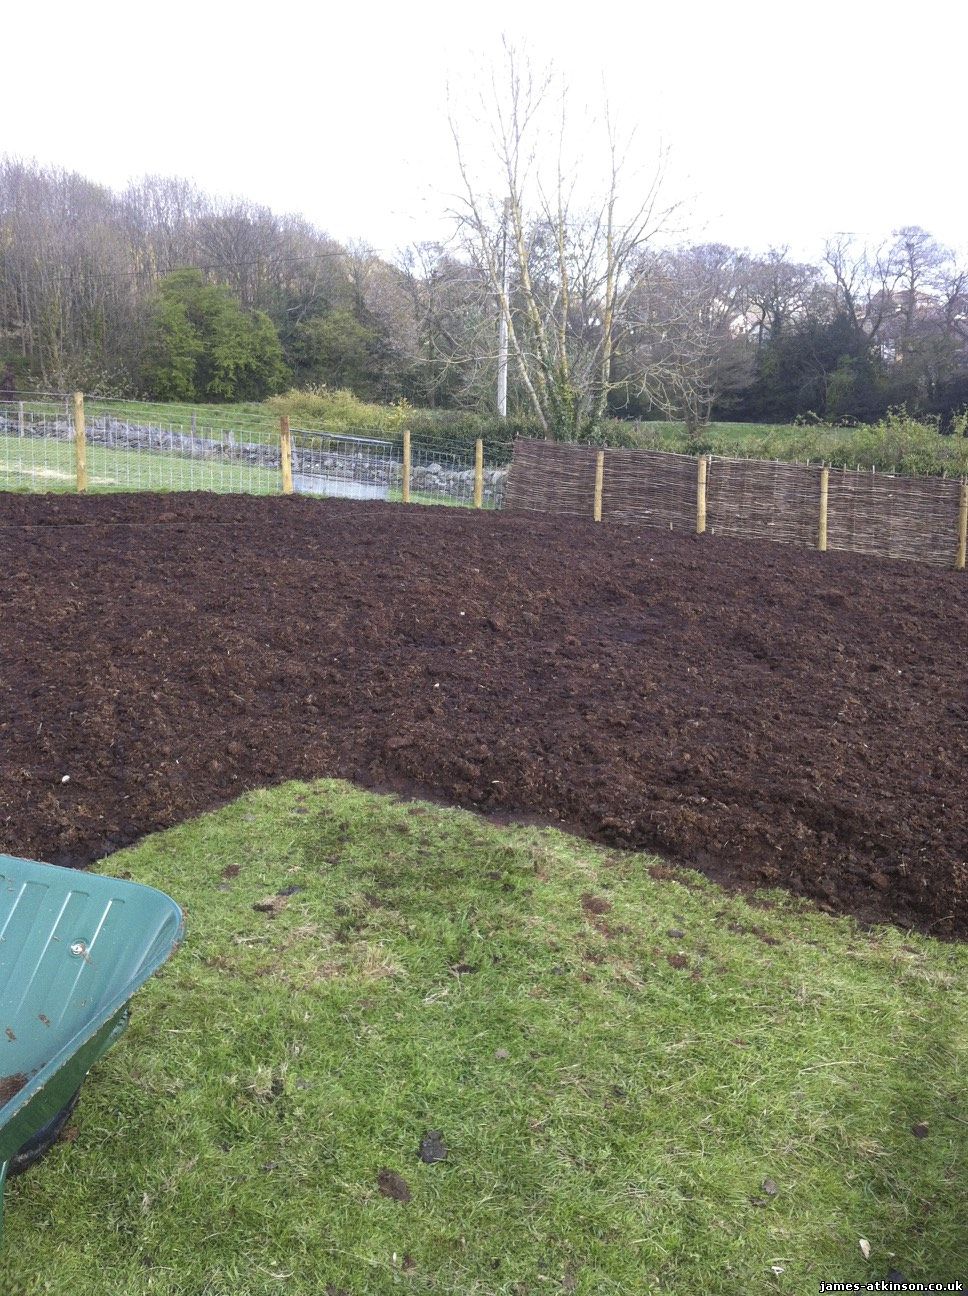
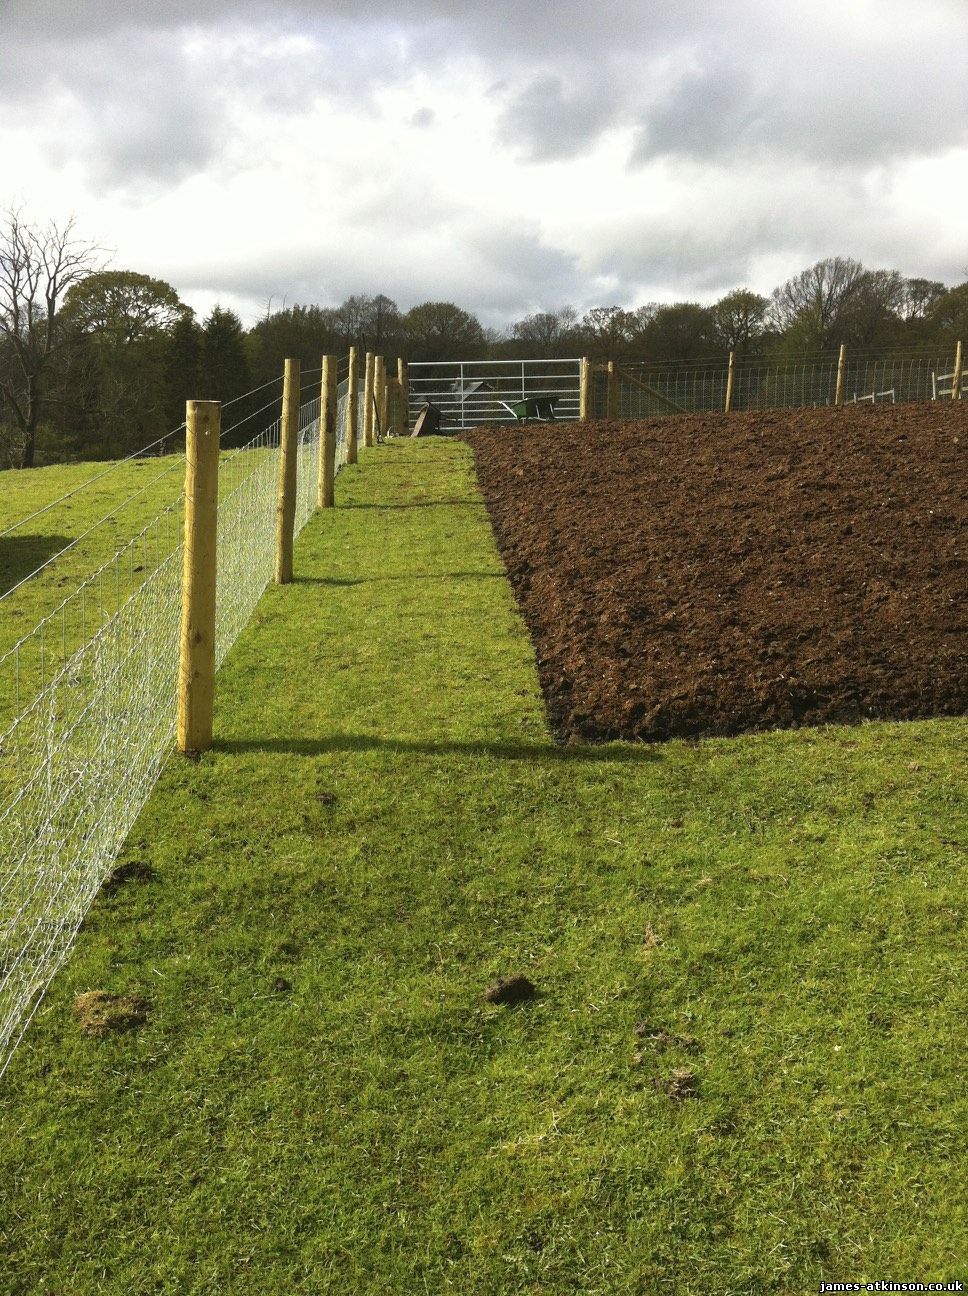
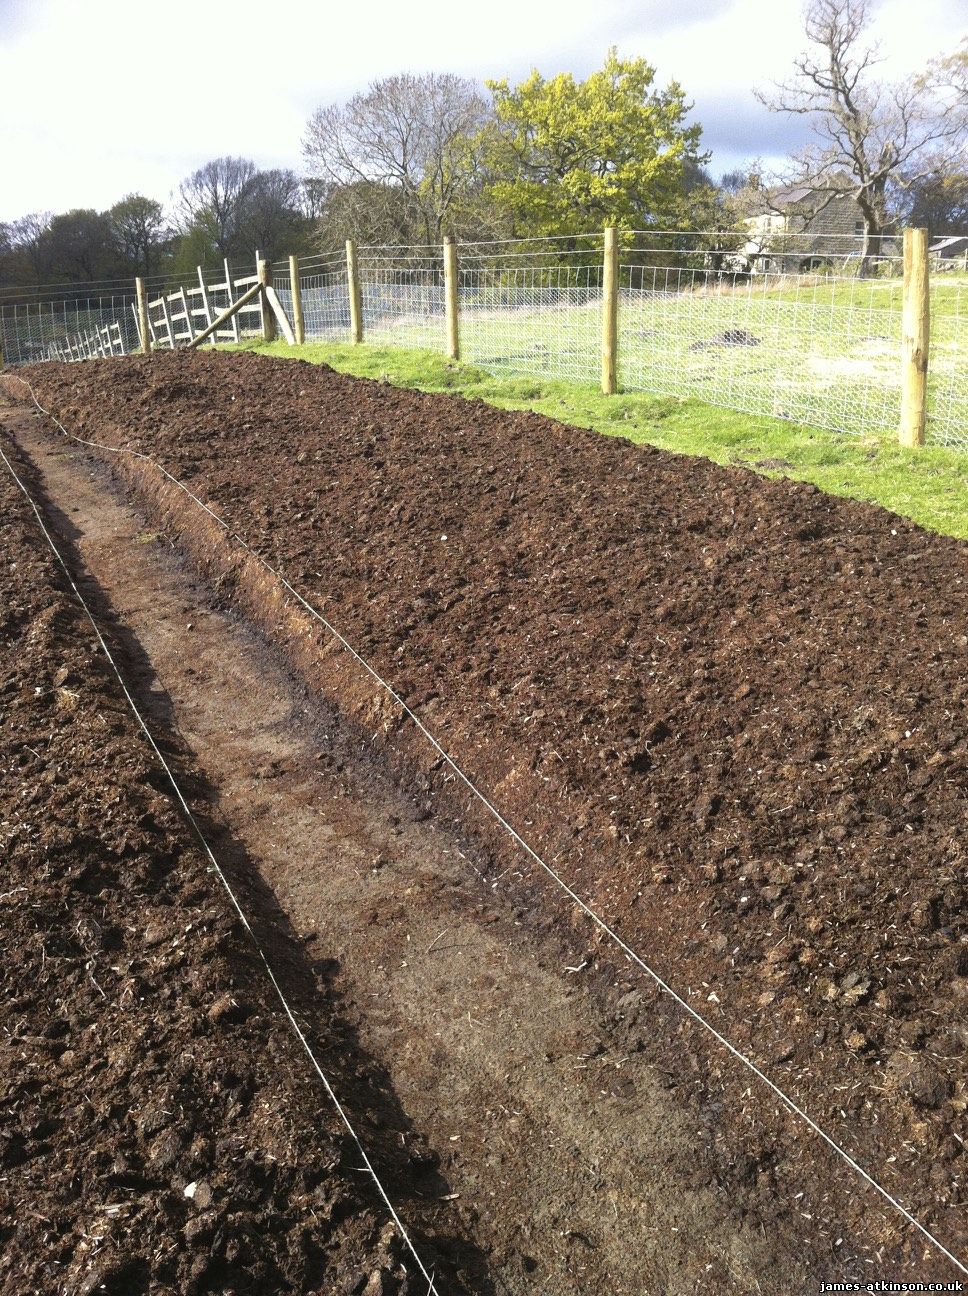
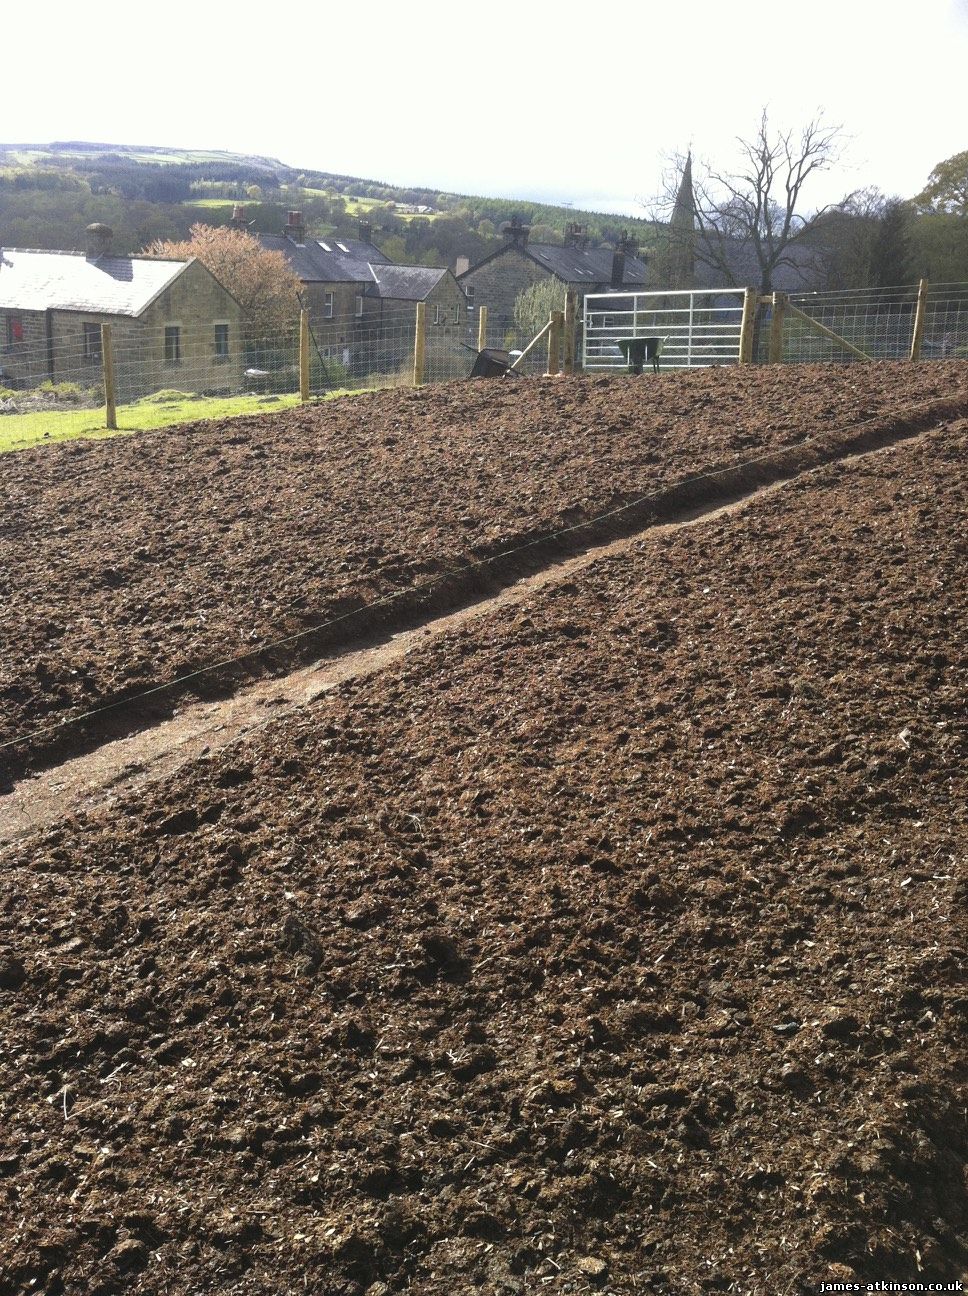
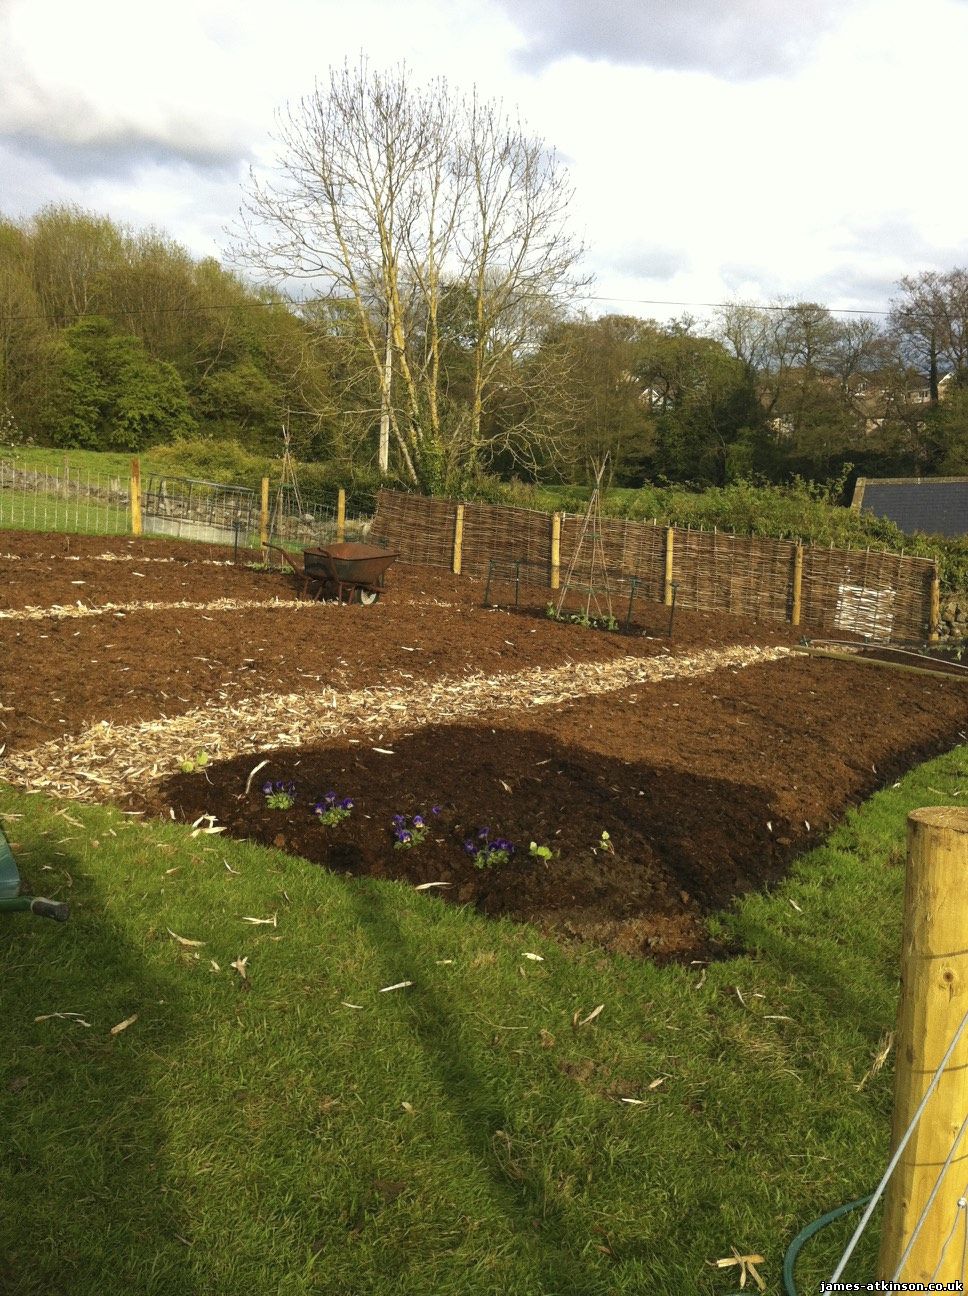
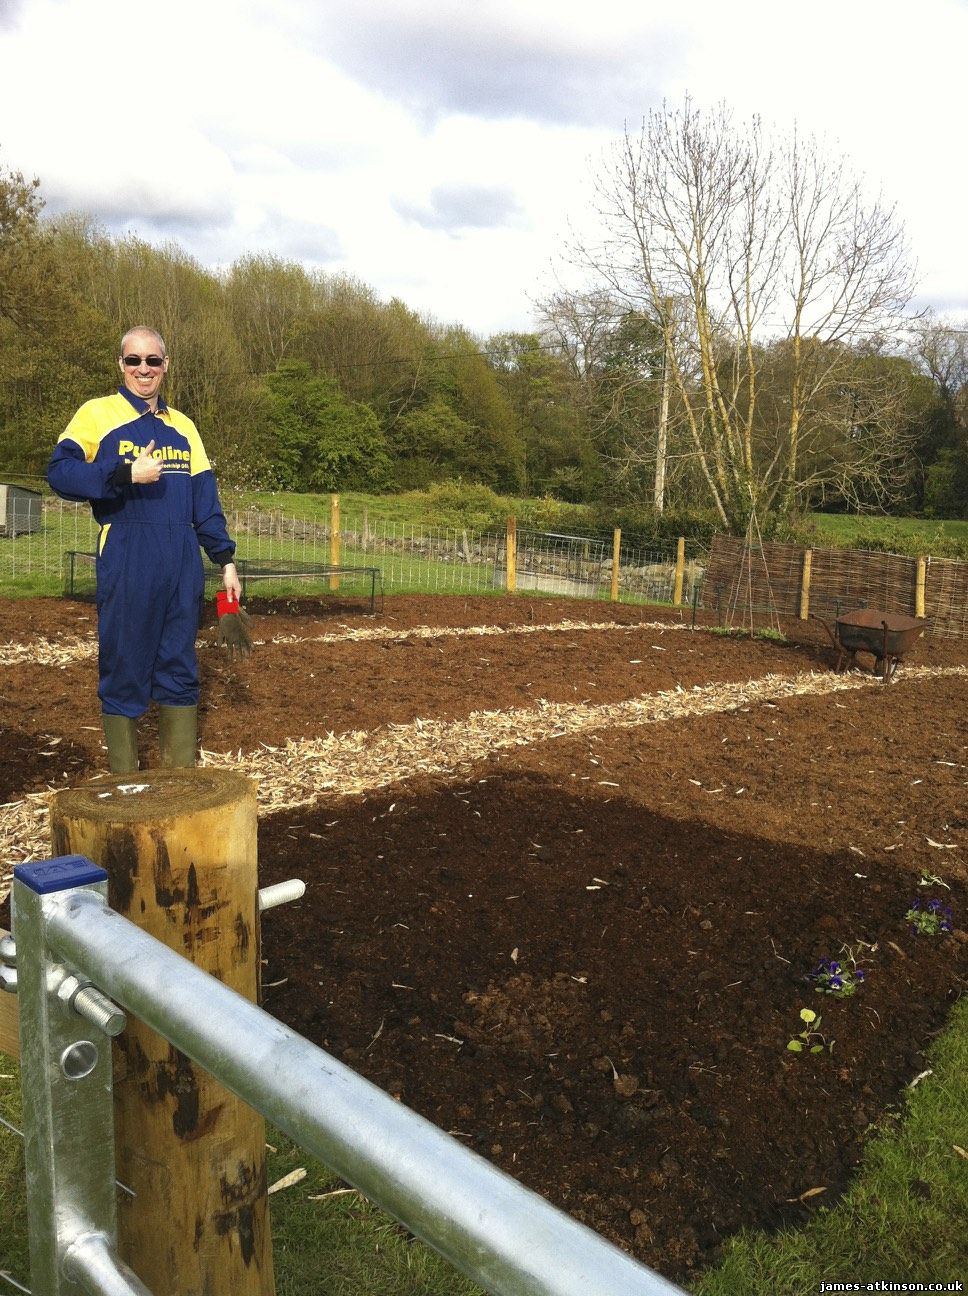
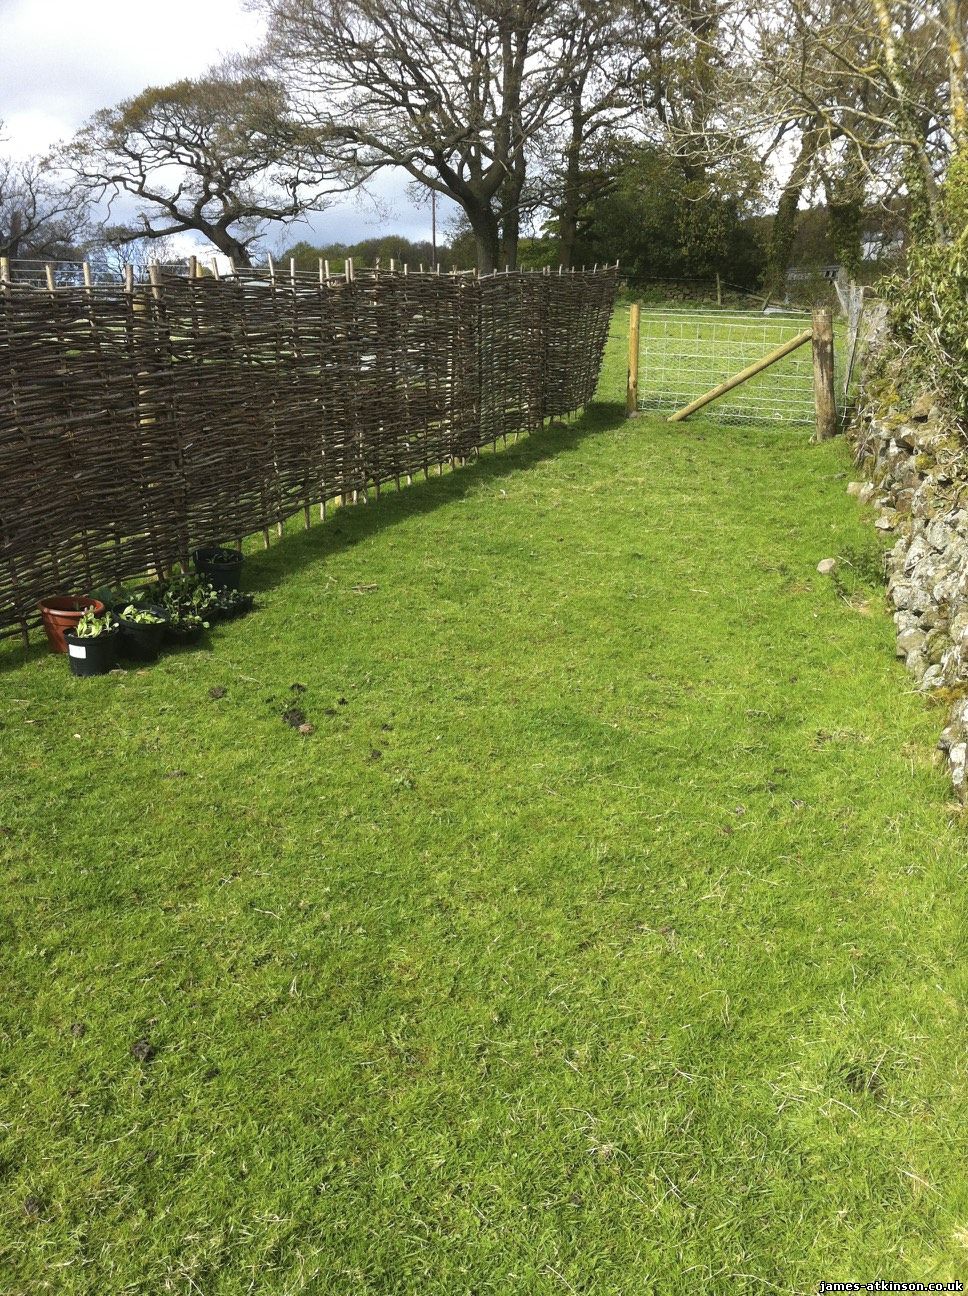
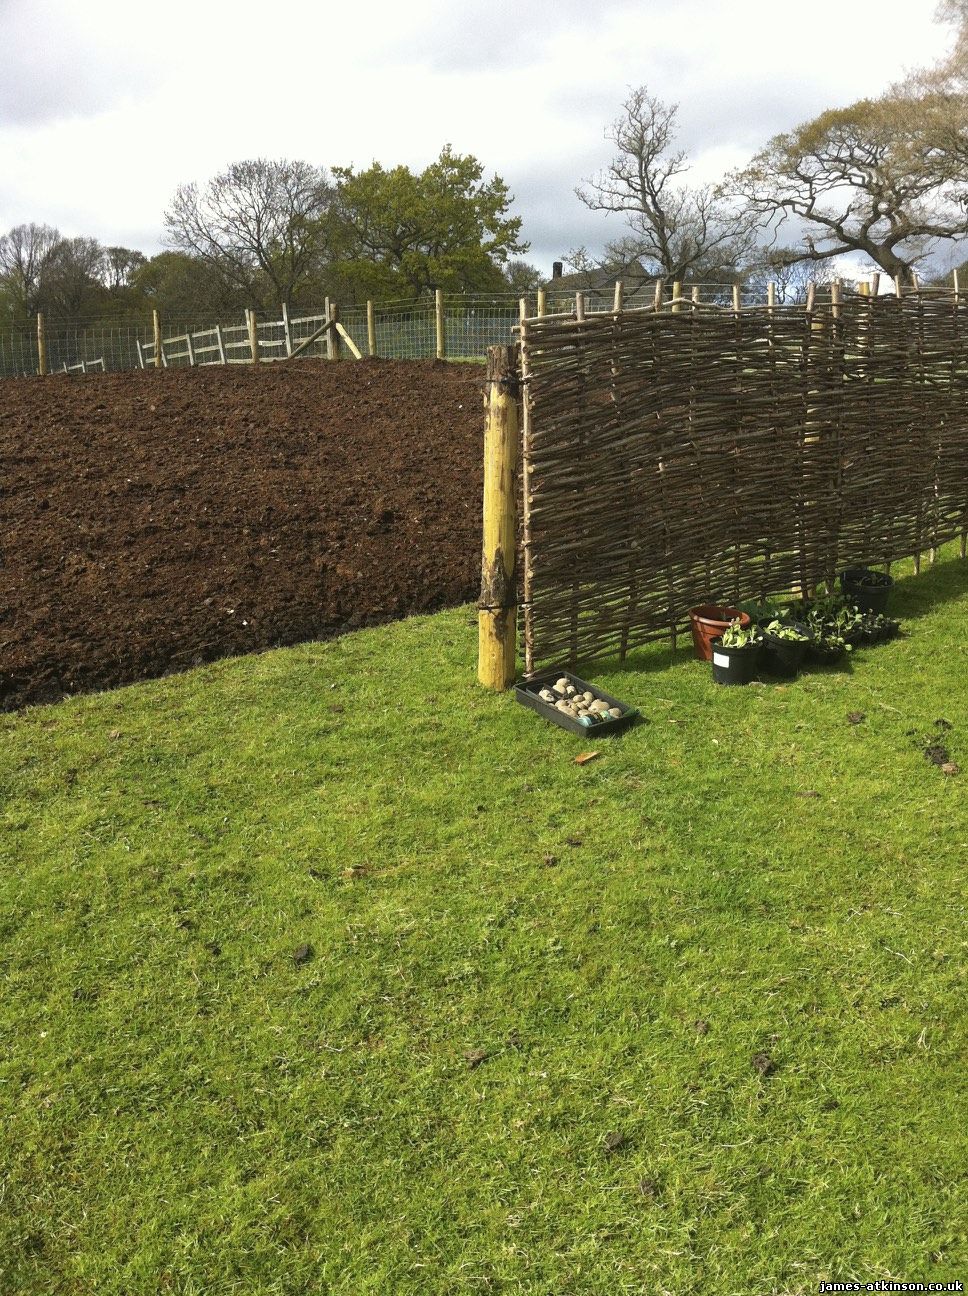
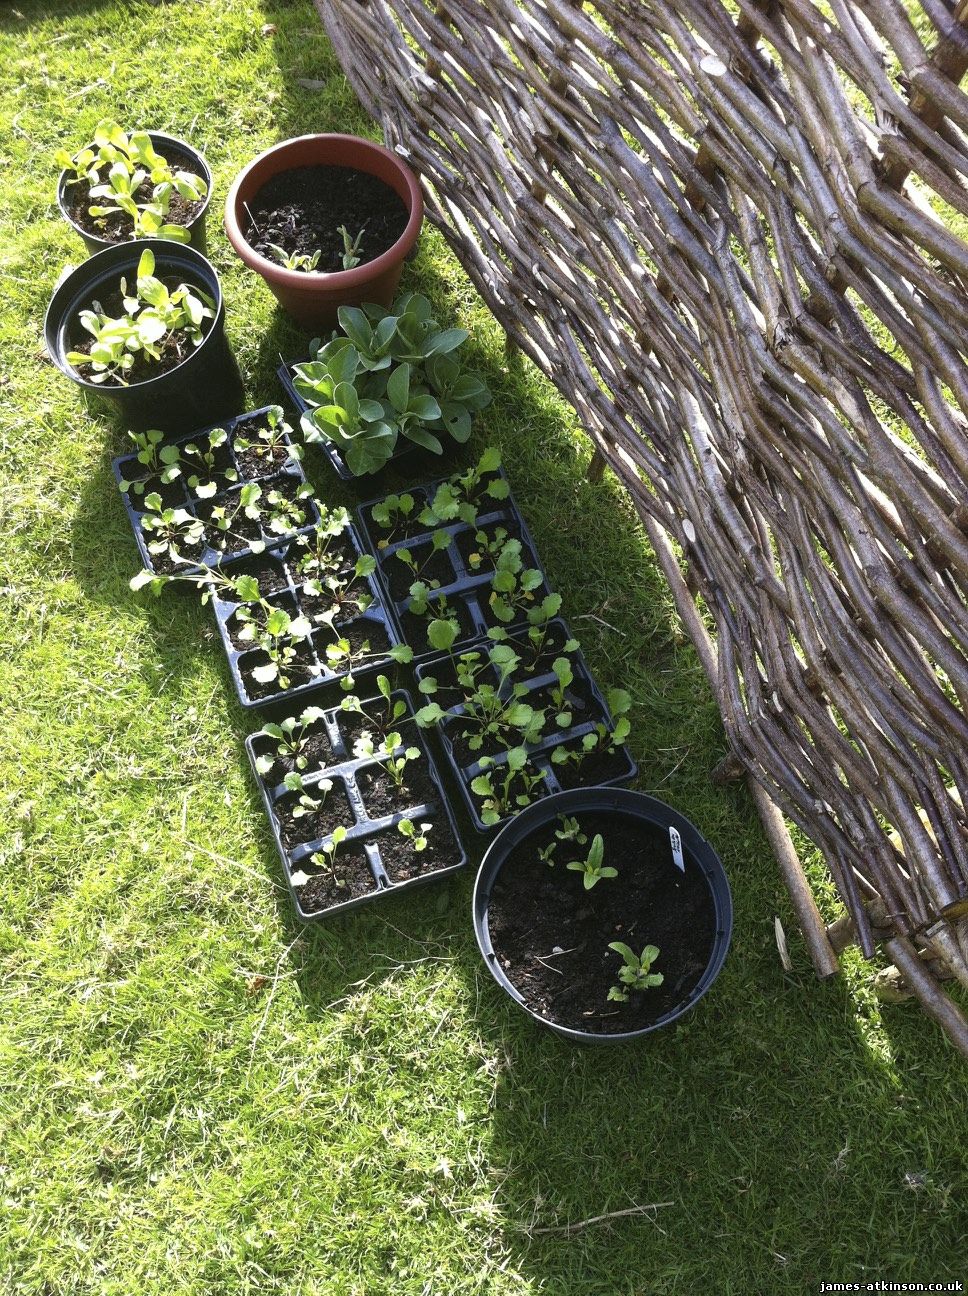
| What is the order of the day when building an allotment from scratch? Well it is hard work followed by hard work then more hard work and sprinkle even more hard work. You have a sectioned off area in a paddock and what you need is to create a base for vegetables and flowers to grow. Julia decided to go with the no dig method. This was seen on Charles Dowding’s website. He has specialised in it for years and the idea is to let the manure do the work on the soil below. If you have good quality manure then it will pay off as it makes the soil more fertile. Please go to his website as he is a true master of growing vegetables. I decided to hire a local firm that was recommended in order to fence the area. After a delay it was eventually built. I was disappointed by the little details but in general it seems a quality build, thank goodness! We hired a turf cutter to prepare the ground. Now that was a task that took a whole weekend. Julia and I decided to make one large area and then make long paths through it later. My father helped by borrowing a van and we picked the cutter up knowing that it would probably take me a while. I got used to the cutter within a few goes. We barrowed the turf into a pile and then later made a neat stack where it will eventually rot down to make compost (so Julia has told me) We were knackered by the time we had completed the task. Now it was time to find decent manure for the no dig approach. I rang our local horse-riding centre who said they would deliver manure. When it arrived it was fantastic. It had been left to rot for a year. A tractor delivered it with a trailer and was driven by a great guy called Michael. In fact it took around 5 loads, of what he said was compressed 5-ton loads, over 3 days. Now that is a large amount of rotten horse muck to spread around. For some reason my nose ran and ran. In the end I just let in drip all over. It was pretty nasty to say the least. The job itself was very satisfying. We spread it evenly and then decided on where to lay out the paths. The decision was to have them run the full length, 3 lanes of access is a good idea as Julia can climb over the beds with wood. The lanes were measured and then needed to be covered over, once the manure was cleared, with something to walk on. I found a local reputable company that would deliver 2 bulk bags of quality bark. Julia and I then had to shift it manually from the farm gate up to the allotment area. We were glad there were two wheelbarrows. Next Julia decided what plants she wanted in. This is obviously an ongoing venture and she is extremely good at growing. Because we have a hose across the field it means Julia can grow in any area of the patches knowing she can easily look after them. I will follow this blog post up with how the allotment looks at the moment as it certainly has taken shape. I have had to delay the beekeeping as I visited the Harrogate & Ripon Beekeepers Association one Saturday with Julia in order to ask advice and maybe buy some gear. The guy who was in the shop was extremely helpful and told me to go on a course before purchasing. As mentioned on a previous blog, I tried to get on the summer course but was too late. He gave me a date and contact and instead I booked on a July 2015 weekend course. In the meantime I have made bases for 2 hives. With the area being on an incline I decided (as usual for me) to make it even harder for myself! I found 4 large stones, from the previous buildings we took down to build the extension at the end of the 80’s, and took them to the bee area. They were heavy! Then I spent quite a while digging down and leveling them. The following few days were spent creating 2 frames to sit on them. Now they are sat waiting for some hives. I also ordered a high quality secure shed and it is being built as I type. A cement base has been laid, but that is a story for the next blog entry. |
|
|
| Total comments: 0 | |
